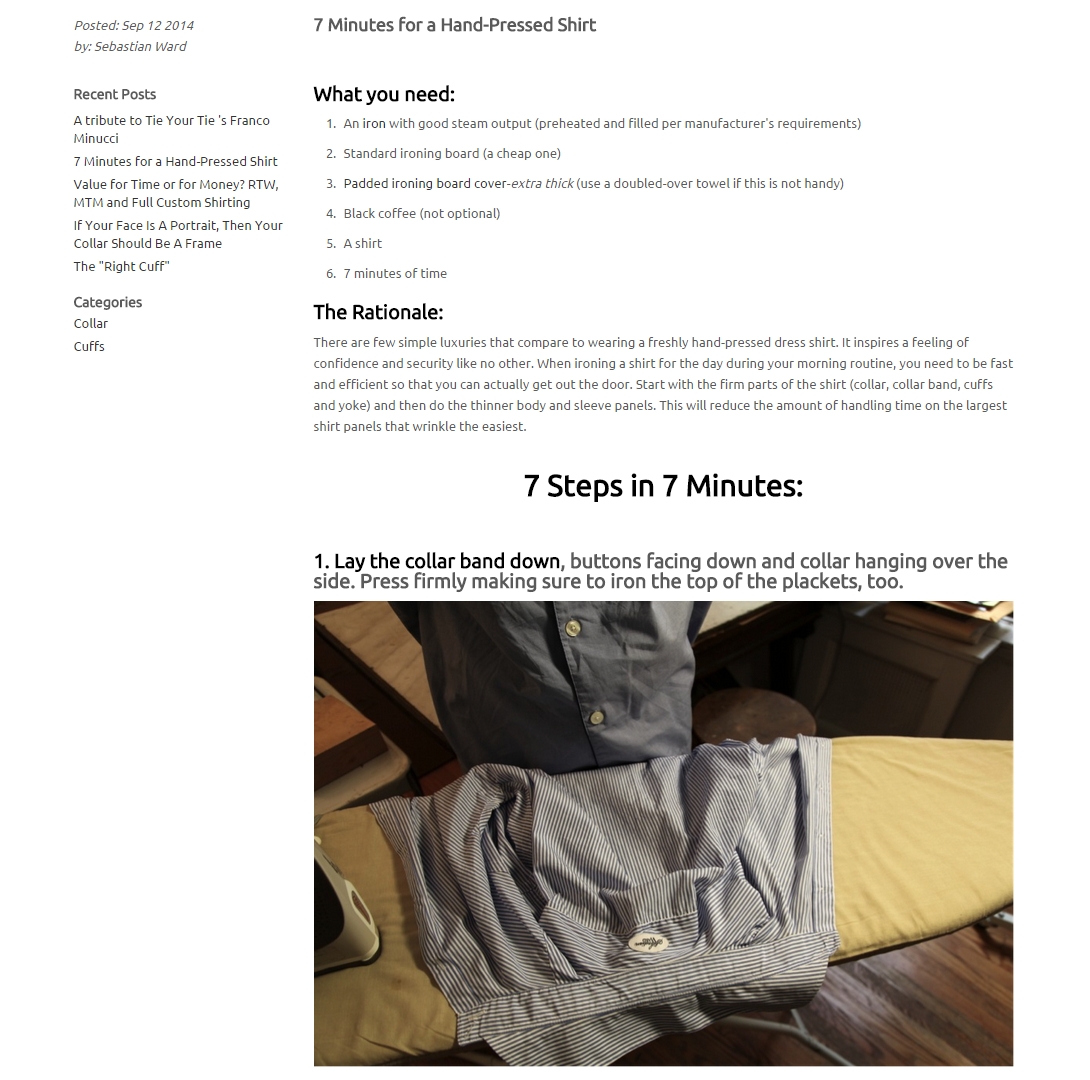
Easier way to iron a shirt from Sebastian Ward
I don't always know everything or can present it in an interesting way. In these cases I'll just link you the original content since they explain it much better than I can.
You'd think there's no wrong way to press a shirt and, for the most part, you'd be right. It mostly comes down to remembering to press from the collar point inward and subjective debates of whether or not you need to press a crease into the sleeves or double cuffs. (I'm in the no sleeve crease camp and never press any into my cuffs.) But certainly there are ways to make it faster and less frustrating.
Enter Sebastian Ward. Besides having a few nifty innovations for their own shirts, they've figured out a quicker and easier way to press your shirt on their blog. I would personally do it the night before rather than morning of work like they suggest, but these tips are still pretty sound.
Take a gander, try it out, and let me know if it's helped your shirt pressing routine as well.
 |
| I don't know about seven minutes, but it's certainly less frustrating than what I was doing before! |


Sorry, but I don't seen anything at all "easy" about this.
ReplyDeleteIf one moistens the shirt and uses a powerful steam iron, there is no need to iron the reverse side of the shirt.
Is that your only issue with it? Because the other tips, like where to position the shirt on the board, made it easier for me.
DeleteSorry, I meant to leave the comment on the Sebastian Ward site.
DeleteFoolproof sequence for ironing a shirt:
ReplyDeleteCollar, yoke, cuffs, sleeves, right front panel, back, left front panel:
1. Start with the collar. (If you finish with the collar, you will crease the upper halves of the right and left front panels of the shirt and have to touch them up.)
2. Iron the yoke.
3. Iron both cuffs.
4. Iron the sleeves. (If you finish with the sleeves, you will crease the upper halves of the right and left front panels of the shirt and have to touch them up.)
5. Iron the right front panel
6. Iron the back.
7. Iron the left front panel.
8. Fasten the top and third buttons, and leave the shirt to cool and air. This will allow the final vestige of moisture to evaporate and prevent creasing.
Thanks, I will try this out!
DeleteI tried this method last weekend after I saw it here. I did finish the steps faster but overall I took more time because I had to touch it up a lot more. Some of the tips are quite good, such as how to iron the collar and to iron the panel with buttons from the back side. But overall, I think I'll stick to my normal ironing routine. Which is similar to what Broadstroke Trad outlined above. It takes me about 15-20 minutes to iron a shirt (or about a Bond Movie's length to iron a weeks worth) so I'm always on the lookout for tips to do it faster.
ReplyDelete